A productive desk setup isn’t about looking like a tech influencer. It’s about removing friction. If you sit down to study or work and immediately have to hunt for a pen, untangle cables, or clear yesterday’s clutter, your brain starts the session already annoyed. I’ve built desks in small rooms, shared spaces, and “my desk is also my dining table” situations, and the pattern is always the same: the simplest setups are the easiest to maintain, and that’s what makes them productive.
Here’s how to build a minimal desk setup that works, without buying fancy gear.
Step 1: Decide what the desk is for (one sentence)
Before you touch the desk, write one sentence:
- “This desk is for homework and studying.”
- “This desk is for writing and online classes.”
- “This desk is for gaming after school and light homework.”
That sentence is your filter. If an item doesn’t support that purpose, it doesn’t live on the desk.
Step 2: Clear the surface completely (yes, completely)
Take everything off the desk. Everything. Put it on the floor or bed for 10 minutes. This does two things:
- You stop “organizing clutter” and actually reset the space.
- You see what you’ve been tolerating.
Wipe the desk down. A clean surface makes the whole setup feel new, even if nothing else changes.
Step 3: Build the setup around your main tool
Your “main tool” is usually one of these:
- Laptop
- Desktop monitor + keyboard
- Notebook + pen (yes, this counts)
Place that tool first, centered and comfortable. Then add only what supports it.
If you use a laptop
Keep the laptop centered. If you type a lot, consider raising it slightly with a book or simple stand and using a basic mouse. You don’t need an expensive stand. One sturdy hardcover book can do the job.
If you use a monitor
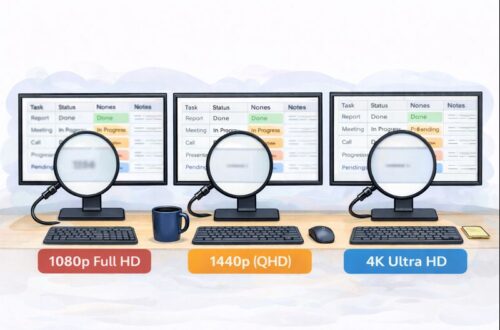
Put the monitor so the top of the screen is roughly at eye level. If it’s too low, lift it with a thick book or a stable box. Minimal doesn’t mean uncomfortable.
Step 4: The “only five things” rule
A truly minimal desk usually has:
- Your main device (laptop/monitor/notebook)
- A light source
- One writing tool
- One drink (water is the champion)
- One small container for essentials
That’s it. Everything else should either be stored nearby or only brought out when needed.
Step 5: Lighting that helps you focus (without redesigning your room)
Bad lighting makes you tired. Good lighting makes work feel easier.
- If you can, sit near natural light.
- Use a simple lamp if the room is dim.
- Aim the light so it doesn’t reflect directly into your eyes or onto the screen.
You don’t need “studio lighting.” You need “I can read without squinting.”
Step 6: Fix the chair situation (with what you already have)
A $500 chair is not required. But your body needs support.
Quick fixes:
- If the chair is too low, add a firm cushion.
- If your back gets tired, place a small pillow or rolled towel behind your lower back.
- Feet dangling? Put a book or box under your feet.
If you feel physically better, you’ll focus longer. That’s not motivation, that’s biology.
Step 7: Make cables invisible-ish
You don’t need a cable management kit. Minimal cable management is just “less mess.”
Try this:
- Route cables to one side.
- Use a twist tie, rubber band, or a cheap Velcro strap to bundle extras.
- Keep chargers off the desk when you’re not using them.
One loose cable is fine. A nest of cables is a daily distraction.
Step 8: Create a one-minute reset routine
The secret to a minimal desk is not the setup. It’s the maintenance.
Every day, do a one-minute reset:
- Throw away trash
- Put the pen back
- Close notebooks
- Coil the charger
- Clear the surface
If you reset the desk, tomorrow’s work starts with less resistance. And productivity is mostly about reducing resistance.
Step 9: Keep supplies within arm’s reach, not on the desk
Minimal desks don’t have 30 items sitting out “just in case.” Put essentials nearby:
- A drawer
- A small box on a shelf
- A pencil case
- A folder standing upright
Your desk stays clear, but you’re not constantly getting up to find things.
My favorite cheap solution: one small container that holds the “daily essentials” (pen, sticky notes, USB drive, earbuds). It’s a controlled clutter zone.
Step 10: Add one optional upgrade (only if it solves a real problem)
Minimal doesn’t mean zero upgrades. It means intentional upgrades.
Choose just one:
- A mouse (if your wrist hates the trackpad)
- A simple desk mat (if the surface is rough or noisy)
- A laptop stand (if your neck hurts)
- A basic headset (if you do calls/classes often)
Pick the upgrade based on pain, not aesthetics. If nothing hurts, don’t buy anything.
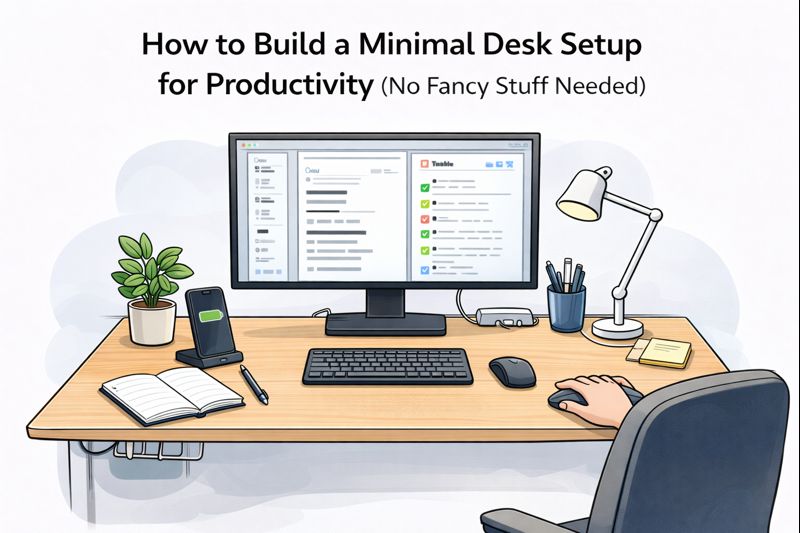
A minimal desk setup example (that works in real life)
Here’s a setup I’ve recommended to students and it stays clean:
- Laptop in the center
- Water bottle on the left
- Lamp on the right
- One notebook + one pen
- Small container in the back corner for essentials
Everything else lives in a drawer or bag. When you’re done, the desk resets in one minute.
The final truth: minimal wins because it’s easy to keep minimal
The biggest productivity hack isn’t a gadget. It’s having a desk that’s so simple you can’t mess it up. Build a setup you can maintain on your worst day, not your most motivated day.